
Create a blog now

Updated March 1st, 2024
Start today and create a website for your business in 7 easy steps
You don’t have to be a tech expert to create a simple website for your online business and if you follow these 7 easy steps, you will have your website with a blog in no time.
Your website is one of the essentials of your Entrepreneurial journey. So I am going to guide you through these steps and share with you all you need to know to create a website that will follow you everywhere.
Don’t worry, if you can follow simple instructions then you can do it!
Disclaimer: Some of these links are affiliate links. This means that I’ll receive a small contribution if you purchase using my link. The cost will be the same for you – or even less. These products are here on this list because I have used them in the past or still do. Thanks for using my links when you buy these services.
Here is what you will need to do:
Step 1 – Buy hosting for your website
The first step to creating a site is to buy a hosting package – There are many to choose from but I recommend using Dreamhost. Hosting is a necessary step in your website setup as it will be the place where your online business will live.
Without a hosting package, there is no website!
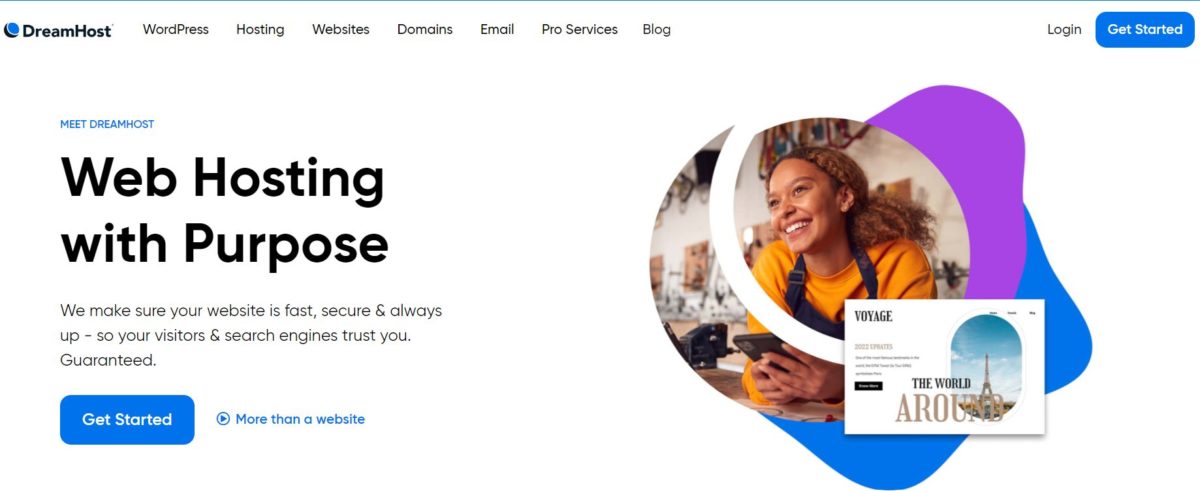
One of the great advantages of Dreamhost is that they set up your WordPress blog in a One-click setup for all their customers.
I have been using Dreamhost for all my websites and I have always had a great experience with their customer service department they responded quickly whenever I had a query via chat.
Build your castle on your grounds, not on someone else’s land!
Step 2 – Name your website
Choose your free domain name
When you sign up for a hosting package with Dreamhost you’ll get a .com, .org, .net, or .info domain free for the first year! That’s a $9.95 value!
Choosing the right name for your website is quite important so you will need to think about the purpose of the website before doing so.
Unless it is a brick-and-mortar business, I would recommend you use your name as your domain name.
Imagine that you start writing about photography but 2/3 years down the line your interests slightly change and you want to write about travel writing … your original domain name may not be as relevant as before, whereas if you chose your name, there is no problem and you won’t lose the traffic as you won’t need to switch to a new website.
If your name is already taken, find a variation of your name that is not too hard to remember, adding your middle name or the word blog at the end.
www.FirstnameSurname.com
www.FirstnameMiddlenameSurname.com
www.FirstnameSurname.blog
www.FirstnameStudio.com
www.FirstnameSurname.travel
Step 3 – Install your website and choose a design
Once WordPress has been installed (thanks to the one-click install button with Dreamhost), you’ll be able to choose a theme for your blog. The theme is what will give you the overall look of your website so it is quite important.
Honestly, I spent far too much time viewing thousands of themes when I created my first blog and then I probably changed it about 5 times afterwards.
But it is a necessary step if you decide to do it all on your own.
There are free themes (like the ones that come with WordPress) and premium themes like Divi by Elegant themes or Theme Forest. I always go with Divi – I use this “drag and drop” template on most of my sites and also for my clients.

Either way, I would recommend you choose a fairly simple design that will allow you to show your skills, whatever they are: photographic skills, your writing style, your favourite holiday spot, your coaching abilities or your products /courses.
Step 4 – Add plugins to your site
To optimize your site, you will need to add some essential plugins. Plugins are small tools that have a specific function on your blog such as preventing spam, making sure your images load faster or helping you get better results with search engines (aka SEO), etc.
There are millions of plugins, most of them are free and some of them are essentials for the daily operation of your business.
Here are 3 of my favourite free plugins:
Yoast SEO – This is the best plugin for Search Engine Optimization, which means that when people search on Google, your site will be better positioned. You will need to know a little bit about keywords and about writing good descriptions/titles and summaries to benefit from SEO.
Updraft Plus – for backup and restore: It takes backups locally, or backups to Dropbox or Google Drive on automatic schedules
WP Super Cache – Very fast caching plugin for WordPress that improves your site loading times.
Step 5 – Add pages to your website
Now that the overall structure of your website is done, you will need to fill it up. Don’t worry, it doesn’t happen overnight.
There are 2 essential pages in addition to the Blog page itself.
About Me Page – It tends to be the most visited page on blogs as visitors are curious to know more about the writer of a post they just read. The About Me page is then very important. One of the fundamentals of online marketing that I coach is the concept of Personal Branding.
Branding yourself does not mean revealing all your life’s secrets to your readers but it means being honest and open about who you are and why you are writing this blog in the first place. It could be explaining your WHY (Why you do what you do!) or giving some background information about yourself. What makes you an expert or student in the specific field of your blog? Remember that the About You page is more about them (your readers) than it is about you, what can you do for them? Are you a good fit for them? etc.
Work With Me Page – Honestly, if you are reading this, it is because you want to create your online job so you will need to have a Work With Me Page, either to present yourself as a service provider (providing your services or products (Ebook, courses, freelancing, teaching, etc) or a solution provider (recommending services or products or providing coaching and consulting).
Just like a cover letter when we used to apply for traditional jobs, this page is where you need to state why they should work with you and how you can help them fulfil their needs or eliminate their problems.
Step 6 – Add a subscribers’ form to your site

If you have followed the steps above, your site should already be in good shape. Your next step is to start building an email list from the first day (via the set-up of a subscription form or a newsletter signup form, so that visitors can leave their email addresses.)
I strongly recommend starting building a list of subscribers as soon as you start blogging, that way every time you add new information, a new post, new services that you are offering, etc., you will be able to send an email very easily to all your subscribers.
Many companies are doing it and I recommend Systeme.io. It’s a free all-in-one marketing platform.

They have a good selection of designs and you can also create your own subscribers’ form to suit the style of your site.
It comes with a system to prepare emails to send automatically when someone signs up (or a series of emails on the following days or weeks) according to whatever you set up.
To get people to sign up for your list, you’ll need to create a free offer (Lead Magnet). Be clever with your free offer.
Step 7 – Send traffic to your blog
My final step is not essential in the structure of the website but without it, there is no point going any further with your site. It is to get traffic to your blog. Going back to our original assumption that you are creating a website to support your current or future business anywhere in the world! So if there is no one reading your posts, there will be no one interested in what you have to offer or recommend, which means no money at the end of the month.
Here are 5 tips you’ll need to apply if you want to send traffic to your blog:
Tip 1 – Write good-quality content.
Think about the kind of information that people would like to read and then create posts and videos about it. Always have your ideal client in mind when writing. If you feel stuck, use an AI blogging tool such as this one to help you produce quality content in a fraction of the time needed to write a long-form blog post.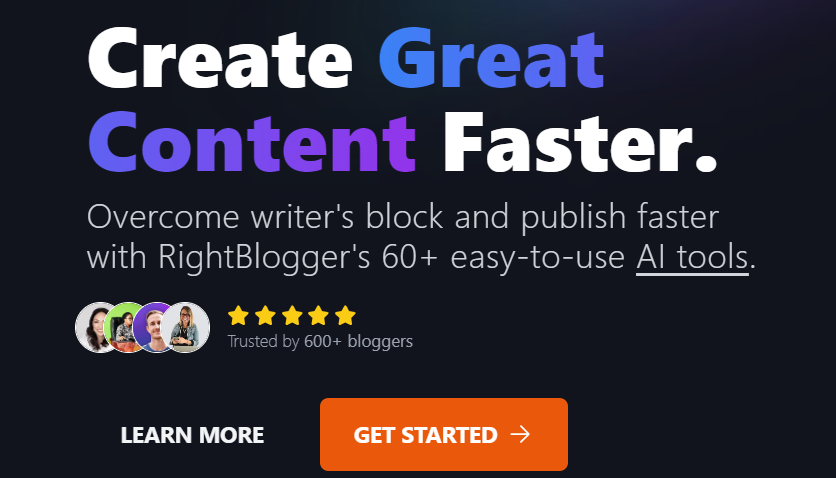
Tip 2 – Share your content on Social media platforms.
Mainly Facebook, TikTok, X, Instagram and YouTube. Depending on your topic, there may be other relevant platforms but don’t try to do too much. Master one or two at first, then go onto the others when you are more confident and if they are relevant.
Tip 3 – Comment on other people’s content.
Take the time to read a post or watch a video, leave a thoughtful comment and always try to bring something to the conversation.
Tip 4 – Educate yourself about SEO and keywords and include them in your writing.
Tip 5 – Write guest posts for other blogs/websites or curated content sites or be a guest on podcasts.
Now You Have My 7 Easy Steps To Build A Website And Start Blogging To Support Your Online Business!
Take Action today and do it now!
Please let me know what you think of all this information and if you have been able to implement it. I would love to help you get started online and create your website. Let’s see together how you can turn your blog into a profitable business that will allow you to go and live anywhere in the world.
Create a quiz to grow your list

Your Smart Assistant for IG and Pinterest


Want to grow your mailing list faster (even as a newbie).
Add these 3 critical components to your freebie to turn your followers into serious subscribers.
↠ so that you gradually grow a list of dream clients willing to hear from you and ready to buy
↠ so that you don’t waste your efforts and money talking to an uninterested audience or freebie seekers
Download now my free PDF guide and learn:
– The most important exercise to attract hundreds of new subscribers every month.
– How to connect your lead magnet to the rest of your offering
– The one thing that will make it 10x more effective once people get access to your freebie.
Simply enter your details below:
